Navigate to the Settings page to update the User-controlled settings for your Better Reports Shopify account.
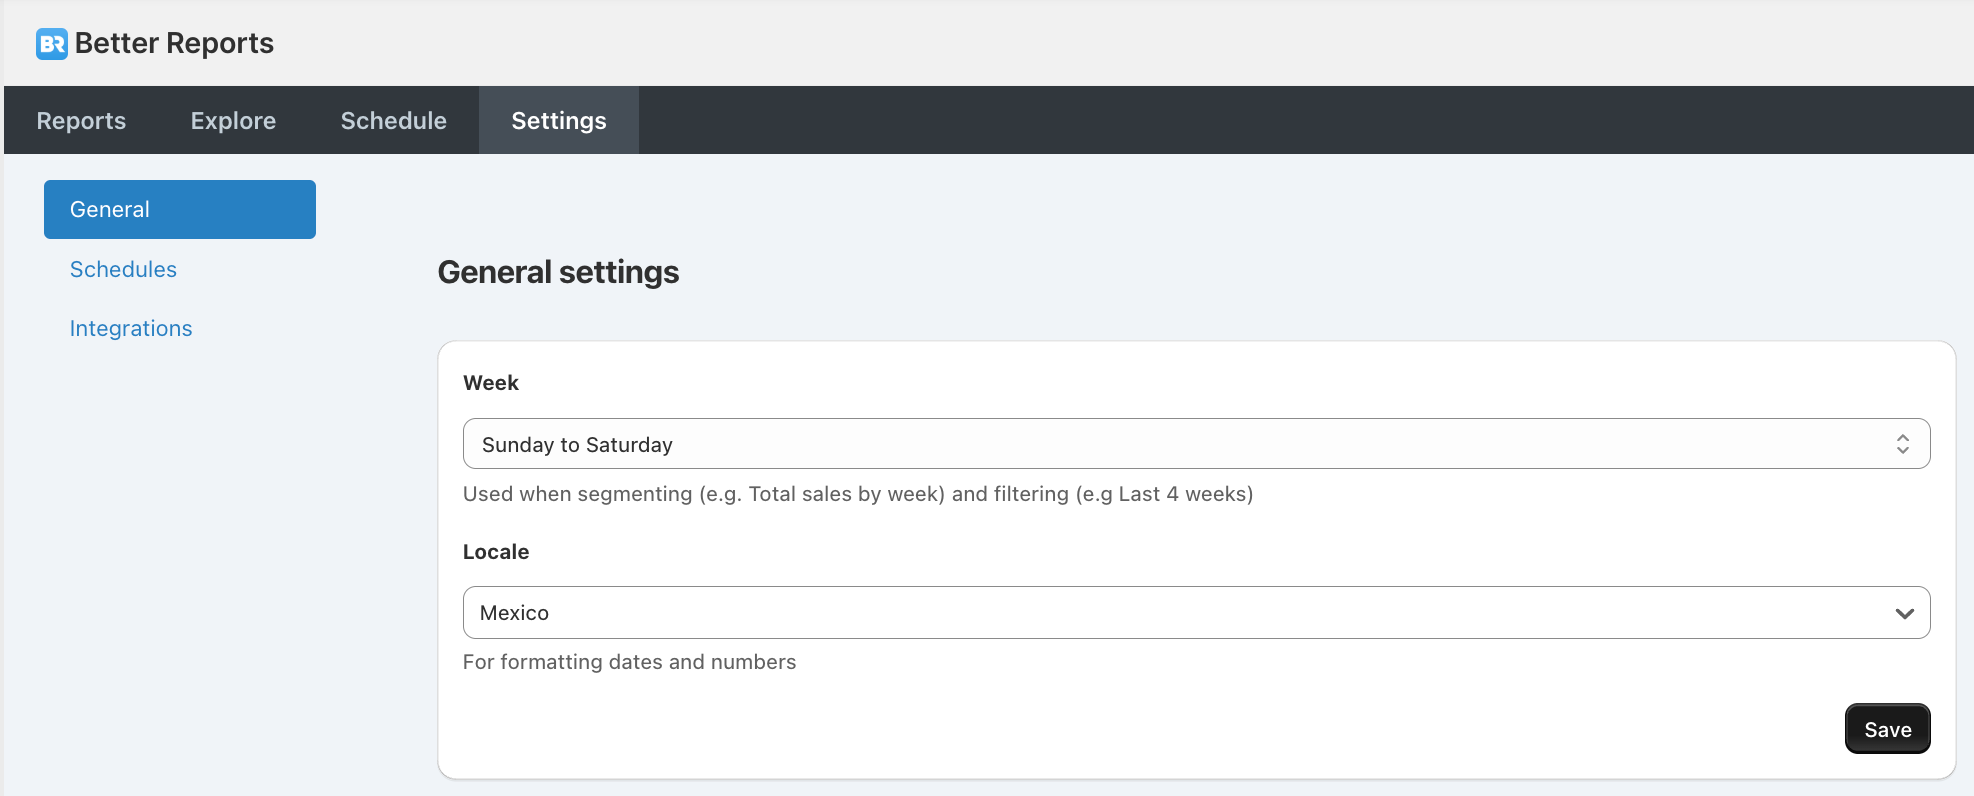
General

Week - Update your week preference to dictate how the built-in date fields define a WEEK in reports. This will update the setting across all reports.
Locale - Set your country to have country-specific formatting of dates and numbers. This setting also affects how these appear in exports.
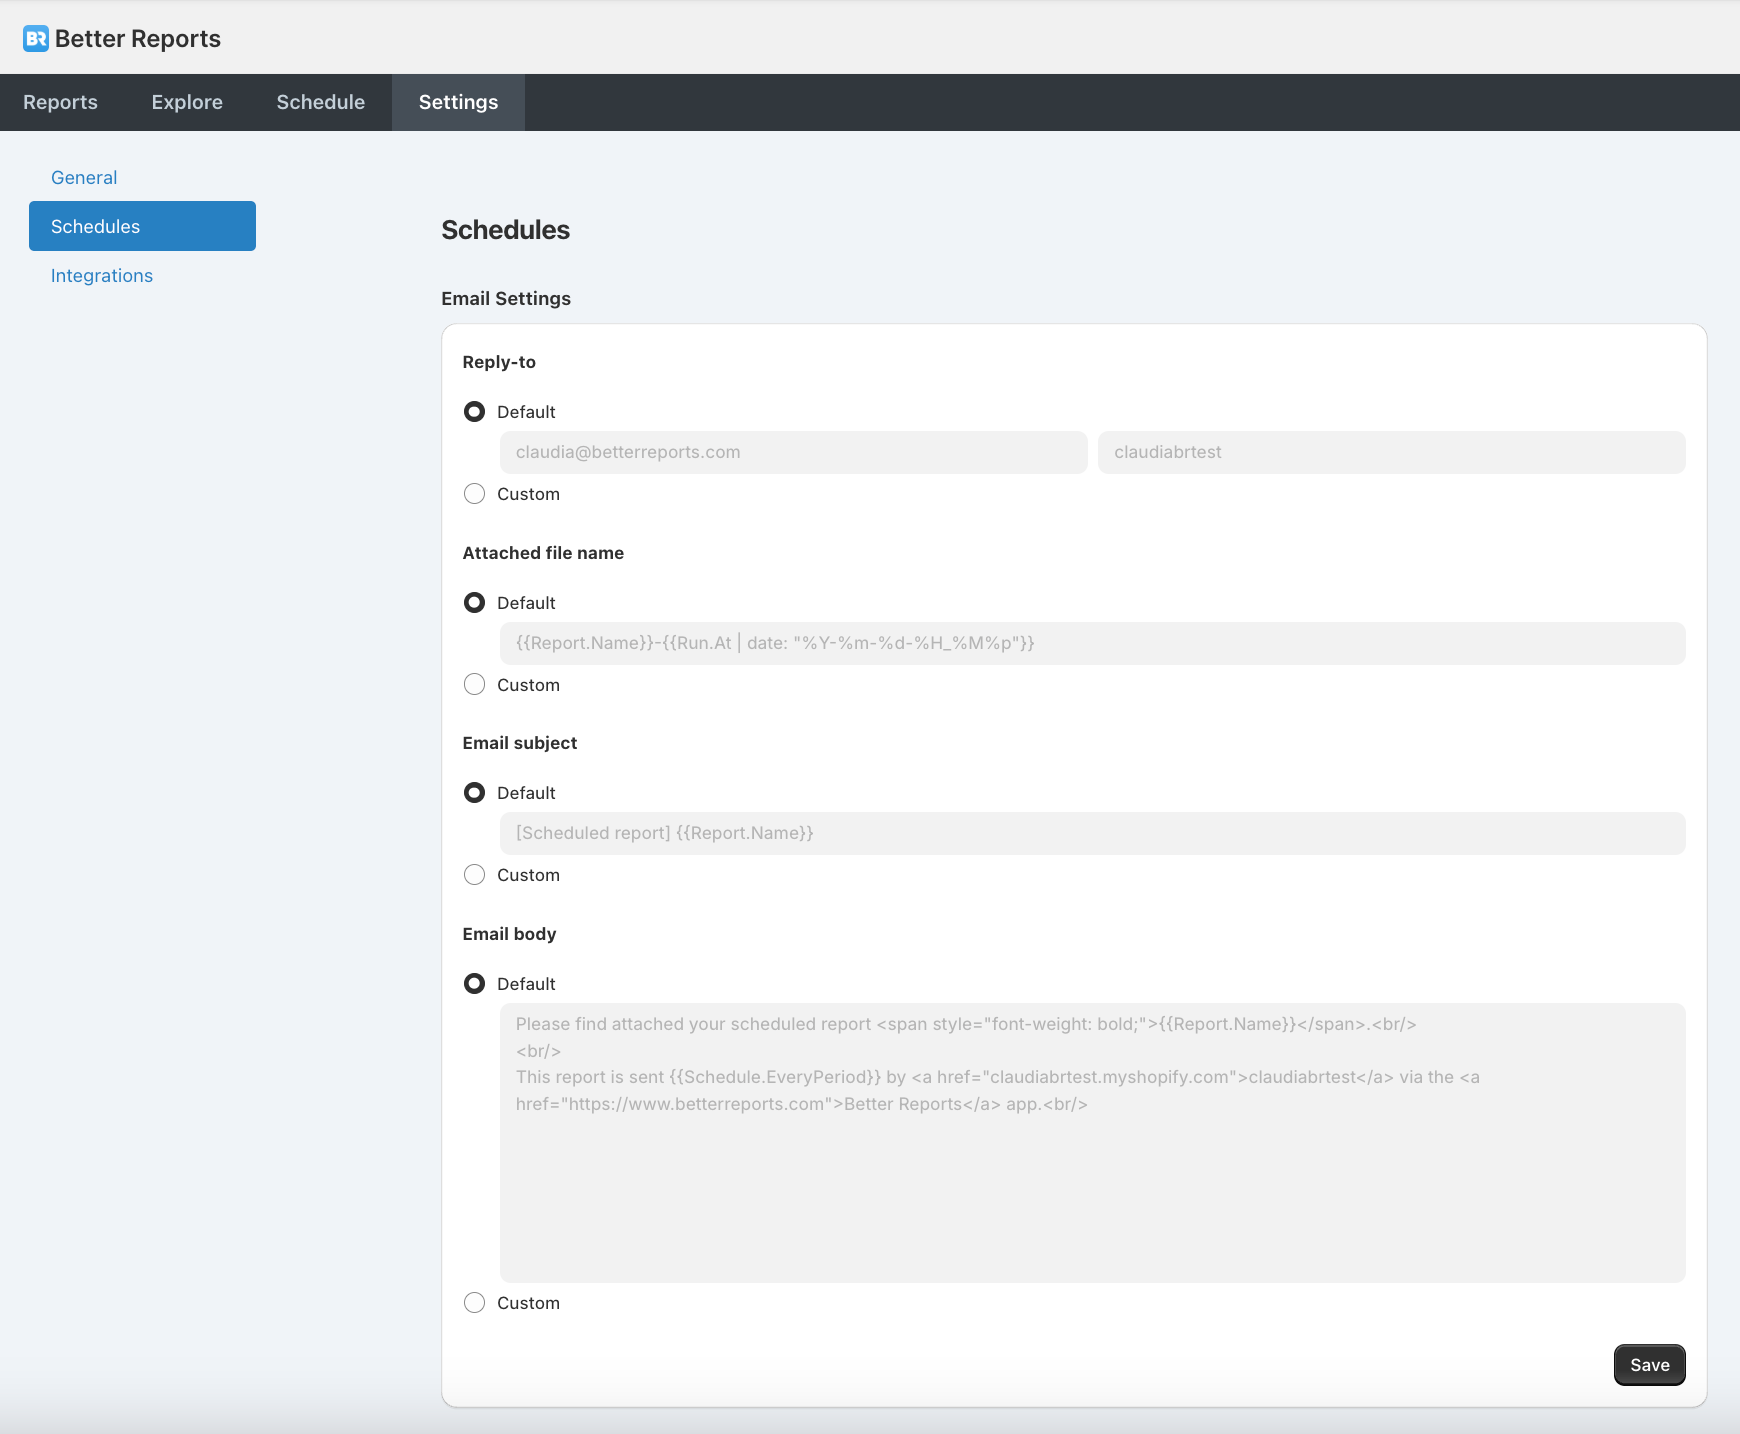
Schedules
Update the store-level settings for scheduled emails via the Schedules settings. For individual schedule updates, reach out to us at hello@betterreports.com to make any changes.

Reply-to - The recipient's email address and full name when replying to the scheduled email. By default, the name will be suffixed with ‘via Better Reports’. Reach out to us and we can override this on a schedule id or store level.
The following settings use the Shopify Liquid language. The default text appears when you click ‘Override’.
Attached file name - The name of the attached report file.
Email subject - The subject line for the scheduled email.
Email body (HTML) - The text contained in each emailed schedule.
Available Fields
You can enhance these descriptions with dynamic content by using the following variables:
{{Run.At}}: The date and time when the report is run.
{{Report.Name}}: The name of the report.
{{Schedule.Period}}: The frequency at which the report is scheduled (daily, weekly, monthly).
To modify the date in the subject line or within the report itself, you can apply Liquid's date filters. Here's how you can adjust the
{{Run.At}} variable to display different dates.Common Use Case - Displaying Yesterday's Date
To include yesterday's date in your report, convert the
{{Run.At}} timestamp into seconds, subtract a day (86,400 seconds), and then format it back into a readable date format (mm/dd/YYYY).For example:
php{{Run.At | date: "%s" | minus: 86400 | date: "%m/%d/%Y"}}
This formula performs the following operations:
{{Run.At | date: "%s"}}: Converts the{{Run.At}}timestamp into seconds since the Unix epoch.
| minus: 86400: Subtracts 86,400 seconds from the timestamp, moving it back one day.
| date: "%m/%d/%Y"}}: Converts the adjusted timestamp back into a human-readable format.
Other Date Formats
You can also display the date in various formats by changing the final date format string. Here are a few examples:
- To display the date in the format "Day, Month Date, Year" (e.g., "Monday, January 01, 2024"):
{{Run.At | date: "%A, %B %d, %Y"}}
- To include the time with a 12-hour format and AM/PM indicator:
{{Run.At | date: "%m/%d/%Y %I:%M %p"}}- For an ISO 8601 format:
{{Run.At | date: "%Y-%m-%dT%H:%M:%SZ"}}Combining All Variables
You can combine these variables with static text to create more descriptive fields. For instance, to include both the report name and yesterday's date in the subject line:
php{{Report.Name}} for {{Run.At | date: "%s" | minus: 86400 | date: "%m/%d/%Y"}}
This provides a basic guide to customizing your scheduled report fields using Liquid syntax. For more advanced manipulations and to explore all possibilities offered by Liquid, refer to the official Shopify Liquid documentation.
If you encounter any issues or have further questions about customizing your scheduled reports, please reach out to our support team for assistance.
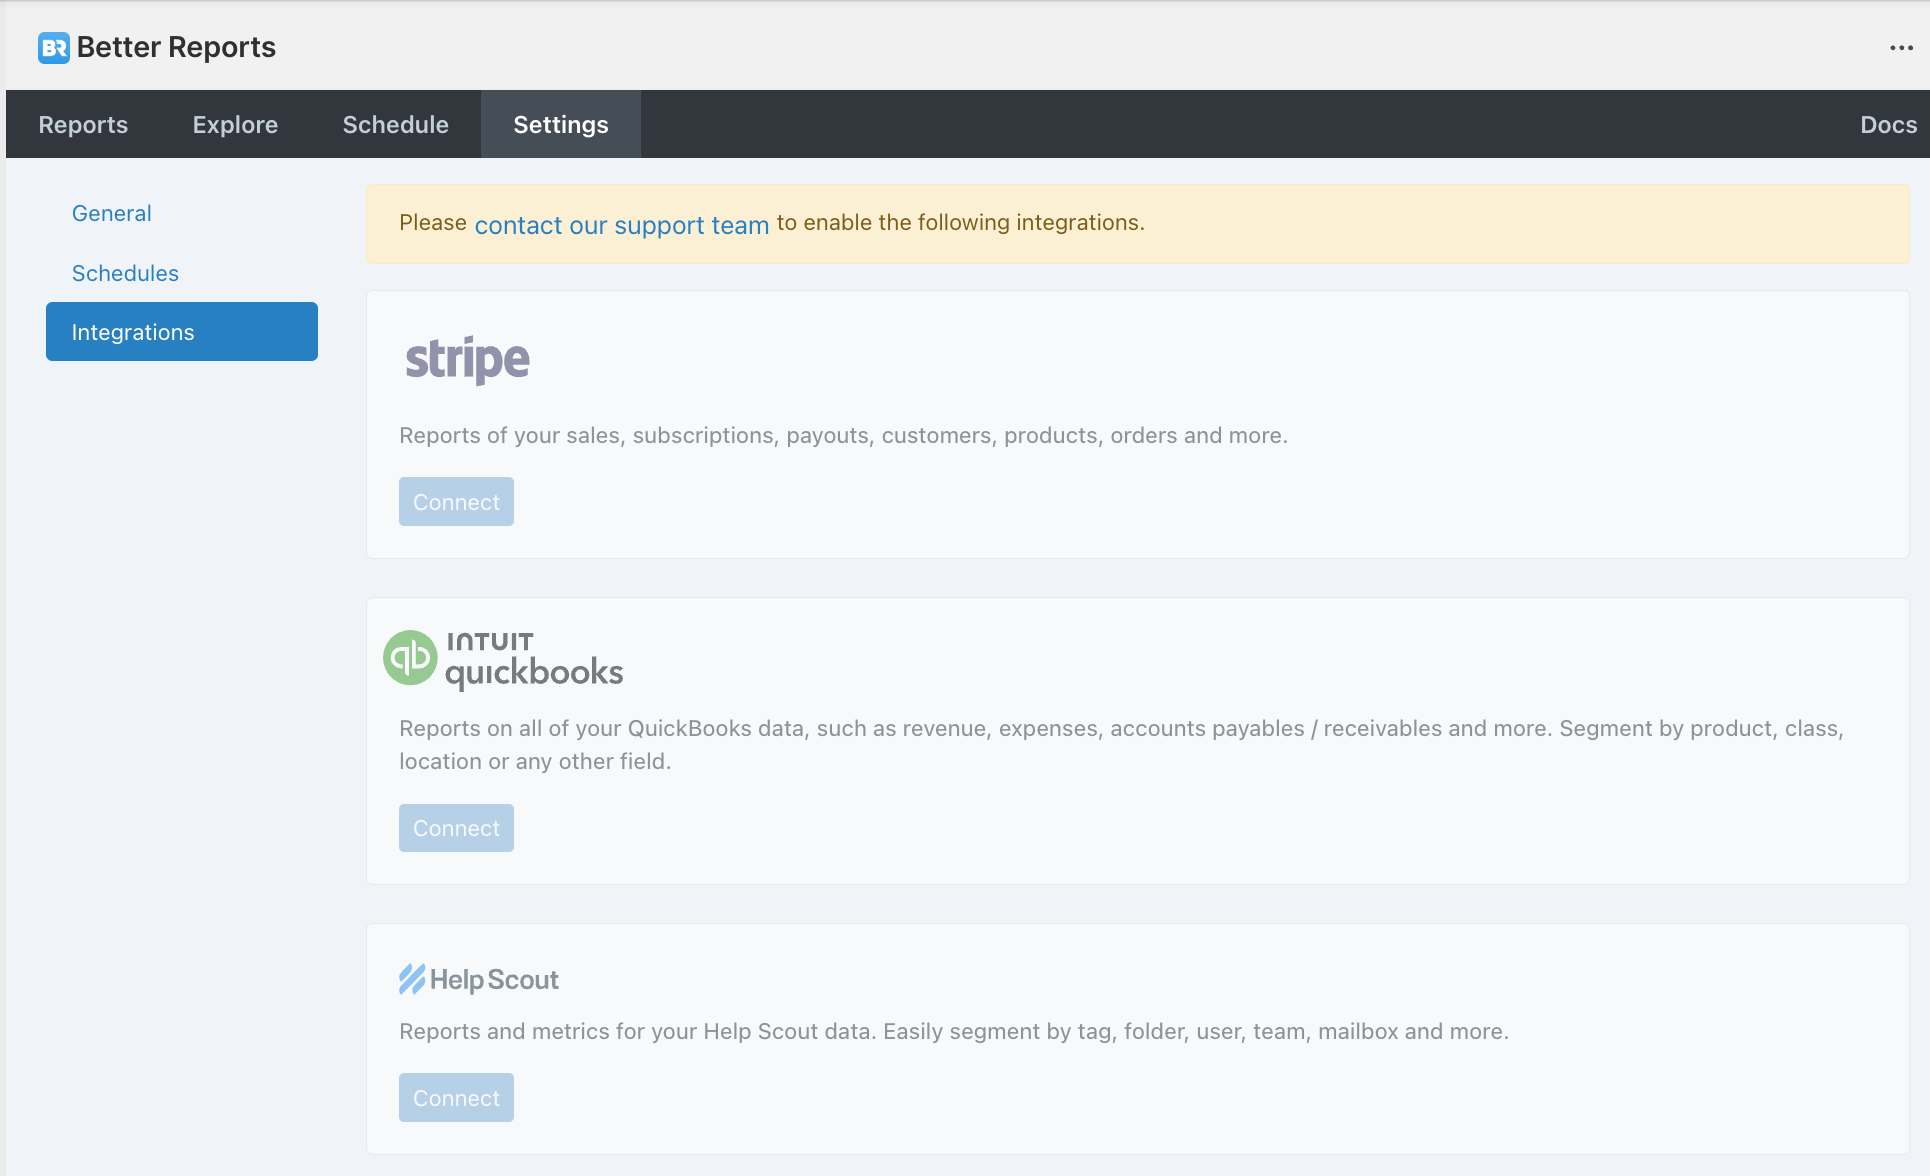
Integrations

Additional integrations can be added by creating an account on app.betterreports.com.
You can learn more on the How to connect page.
